

i saw these on pintrest and followed the link to domesticated lady. she did super cute oreo pops for valentines day. #adorbs
a few things i discovered along the way:
- you must use double stuff oreos; the sticks are too thick for regular oreos
- use the short lollipop sticks, long ones look silly with a teenly little oreo on top of a super long stick
- this may seem redundant to those of you who have common sense, but read all labels on the decorating bags and tips. i definitely got home with tips and bags that did not go together. luckily some super cute duct tape fixed the problem for now, but i will definitely go get the right tips for future projects
alrighty then. here is what you need:
- double stuff oreos
- 12-16oz chocolate- i like candy melts, but you can use any chocolate
- 2 tsp shortening if not using candy melts
- lollipop sticks
- wax paper/parchment paper
- tape
- decorating bag and tips
- picture/printout of candy toppers
- little clear bags and ribbon to make the finished product even more irresistible!
step 1
prep oreos

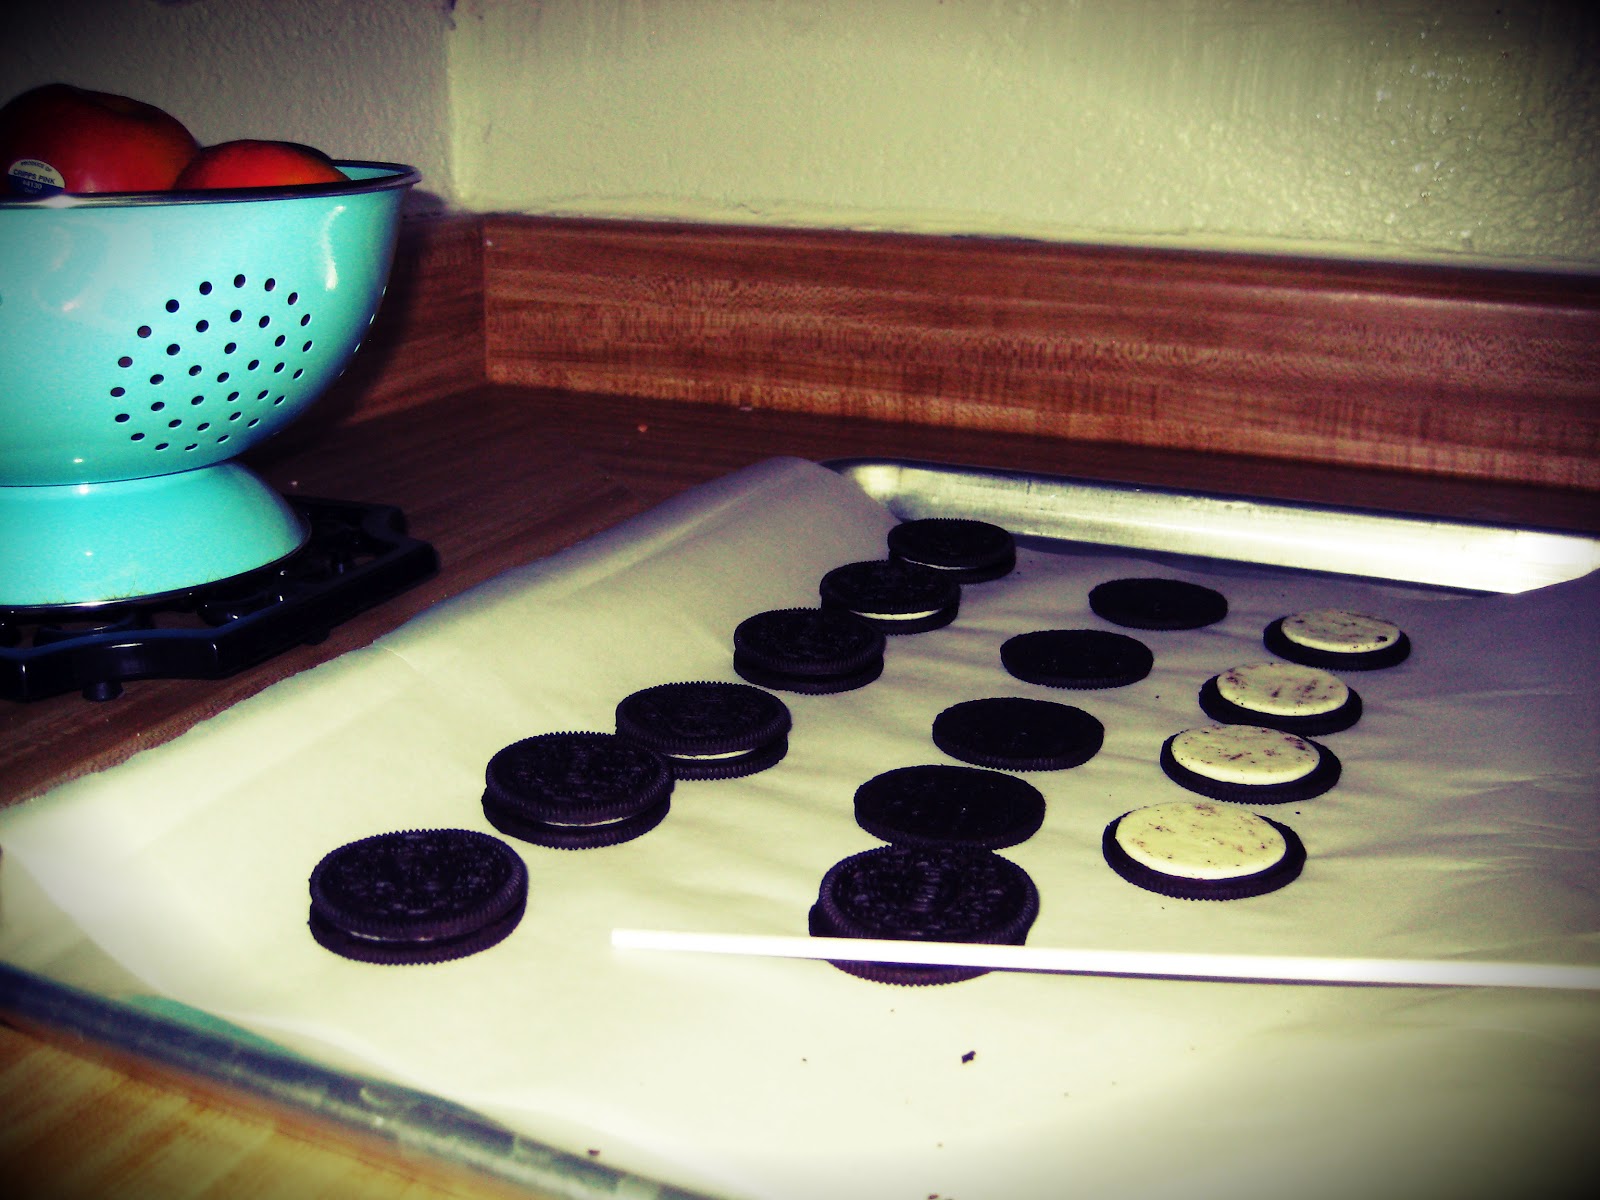
place a piece of parchment paper on a cookie sheet. twist the tops off the oreos, insert a stick into each cream and replace the tops. i will not be held responsible for what happens to the cookies that break during this process. although i might recommend an amazingly delicious 5 minute nutella cheesecake that uses a crushed oreo crust...

step 2
prep design for candy toppers
i found this method by moey at moey's heart and hearth. she made an impressive chocolate dora for her daughter's birthday cake. i'm sure it's not groundbreaking, but i was impressed and have been looking for a project to use it on. success!

so first i printed out some eiffel towers and fleur de lis to make my pops Paris themed, but you can use letters or other clip art that fits your purposes. i then taped the paper to my kitchen counter #hideous (who thought two tone faux wood laminate was a good idea?) and taped a piece of parchment paper over it.
step 3
melt chocolate

there are two main ways to do this: either over the stove in a double boiler, or in the microwave in a bowl. doing it on the stove is more time consuming, but the chocolate has a nice, shinny finish when cooled, just like at the candy store. #bonus
if you go the stove route, break a little over half of the chocolate up (adding that little scoop of shortening if you're not using chocolate made specifically for melting) and heat in a double boiler over low until it is completely smooth, about 100 degrees F. you will want to stir it frequently to make sure it doesn't scorch. once melted, remove from heat and place the pot in an ice water bath. add the remaining chocolate (finely chopped) and stir until all chocolate melts and temp is between 90 and 88 degrees F.
i use the microwave. this is much faster (and in my opinion less messy-fewer dishes to clean) but it is much easier to scorch the chocolate. chop the chocolate up, put 2/3 of it in a microwave safe bowl (with 2 tsp shortening if using) and microwave at 30 sec intervals, stirring between each one, until it's melted. remove and put in an ice bath, add remaining chocolate and stir until it is all melted. it may need to be zapped one more time, usually 15 sec to bring it to the right temperature.

once your chocolate is ready, put some in a decorating bag. i left the candy topper portion white and dyed the dipping portion pink, for contrast. and because i like pink.
step 4
make candy toppers

this is the fun part! using the decorating bag, just pipe chocolate over your design. if you want sprinkles, make sure to add them before the chocolate hardens or they won't stick. place finished toppers in the freezer for 5 min then remove.

step 5
coat oreos

dip the oreos in the remaining melted chocolate, being very careful to keep the cookie together around the stick. press the candy toppers into the wet chocolate, or roll the cookies in sprinkles, or dust with petal dust, whatever floats your boat! place cookie sheet in freezer to harden. i thought dippinig the cookies and keeping them together was a little tricky, but of course that could have been due in part to the little hands grabbing my knees...


step 6
bag pops

once the chocolate is hard, remove the adorable cookie pops from the freezer, slip those little bags over them and tie them off with some cute ribbon (or lace, or baker's twine, or twisty ties)

send some to friends, make them for a party, i just love how cute and simple they are. like cake pops, but easier. try not to eat them before other people get to admire your awesomeness!
send some to friends, make them for a party, i just love how cute and simple they are. like cake pops, but easier. try not to eat them before other people get to admire your awesomeness!


that's all for today! here's a smile to see you off, since this post took three times longer to put together thanks to my energetic little helper! i may or may not be guilty of letting him tear up a magazine so i could edit pictures. i don't think he ate too much of it. just the front cover, max.
#stillstinkincutethough
#stillstinkincutethough


Oh my goodness, look at you go! You've even got your own Pinterest-worthy picture collage to set the stage :) Yummy stuff!! Hope your sister thoroughly enjoys them.
ReplyDelete